UniConverter User Guide
FAQs
How to Trim Video and Combine Video Clips into One?
Wondershare UniConverter integrates a full-featured video editor into the program, which enables you to make professional-looking home movies in minutes. Trimming videos is one of the useful features to edit videos, which can remove the unwanted parts as a video shortener by trimming the unwanted part and combining the left clips together, trim a long video into several small segments for convenient sharing or watching. Below lists both video tutorial and detailed steps for you to trim a video.
Trim Video and Combine Video Clips into One - Wondershare UniConverter (Win) User Guide
Step 1 Run Wondershare UniConverter.
Launch Wondershare UniConverter, then choose the Video Editor section.

Step 2 Trim video.
Click the Trim button on the left to get the Trimming window.
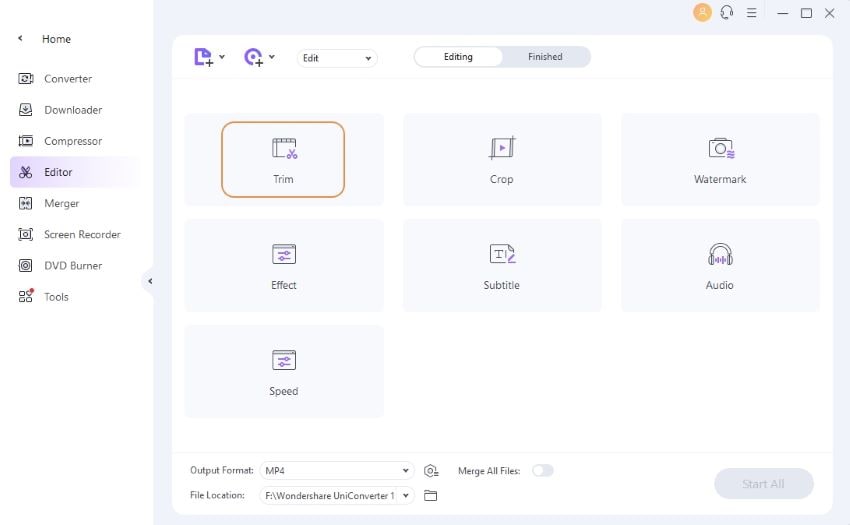
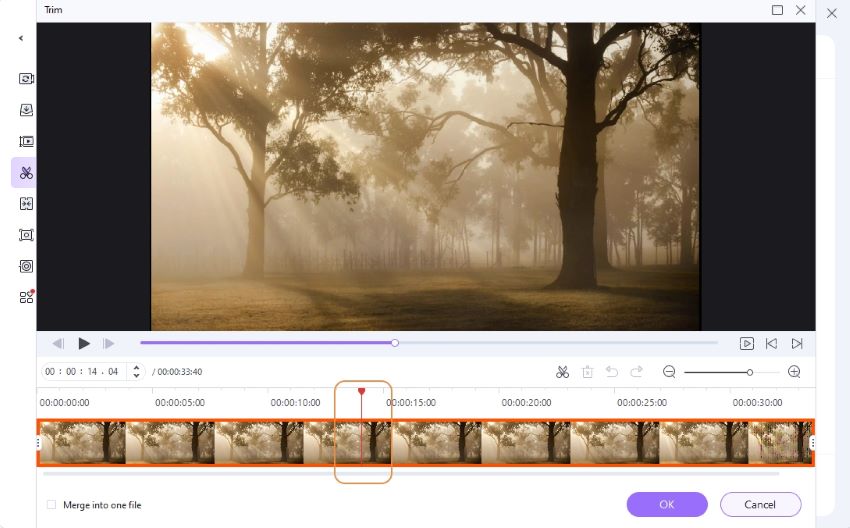
Situation 1: Trim the end or the start of the video. If you want to trim the video from the beginning or the end of the video, hang your mouse at the rear/front of the clip (Note: For the Windows version, Here you can move your mouse on the time slider and the scissor icon will appear, click it to Cut the exact clip you want to trim), or you can click the above Cut button to cut the video into two parts.
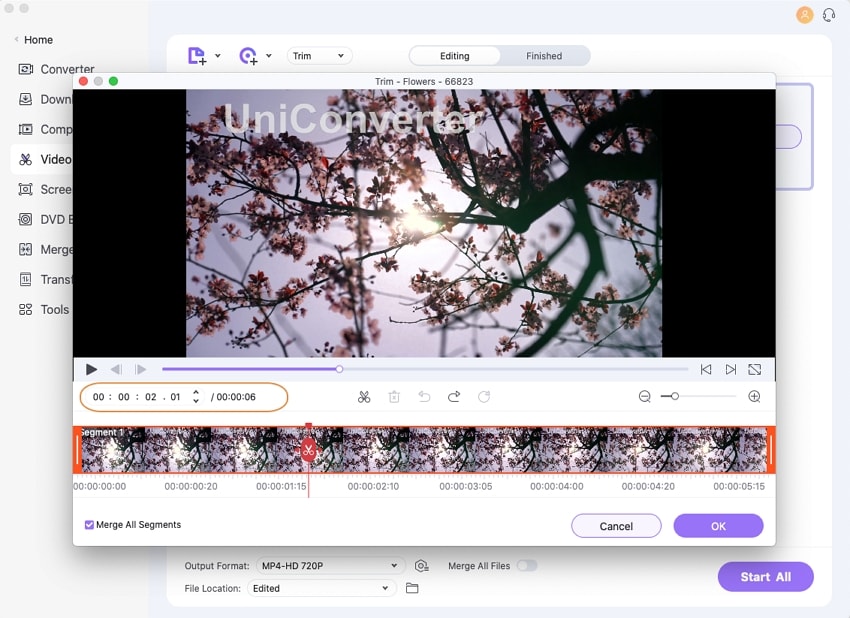
Note: For the Mac version, you can set the exact time you want to trim on the marked place as below.
Select the unwanted part you want to trim, and click the Delete button and then the Save button to proceed.
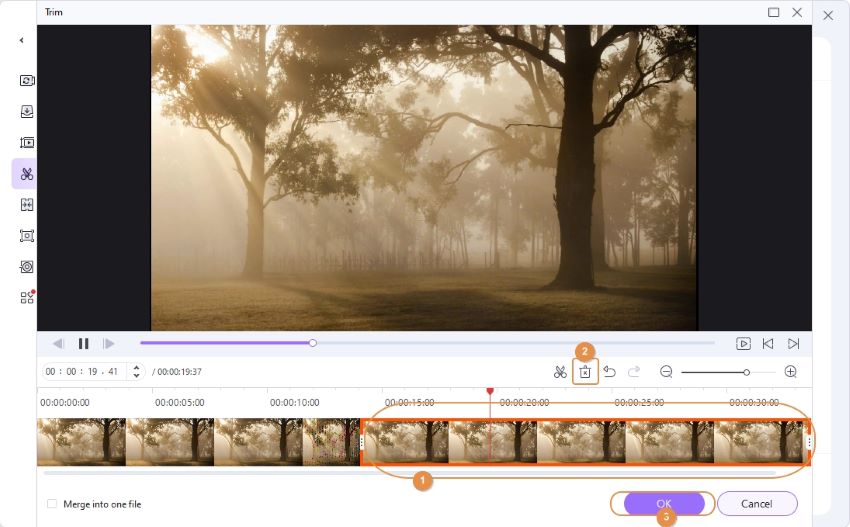
Situation 2: Cut the middle of the video. If you need to cut a section in the middle of the video, drag the slider to the start point of the unwanted part and click the scissor icon or the Cut button, then drag the slider to the end point of the unwanted part and click the scissor icon or the Cut button, press the Delete button to remove the selected part. After that, click the Save button to reserve the operation.
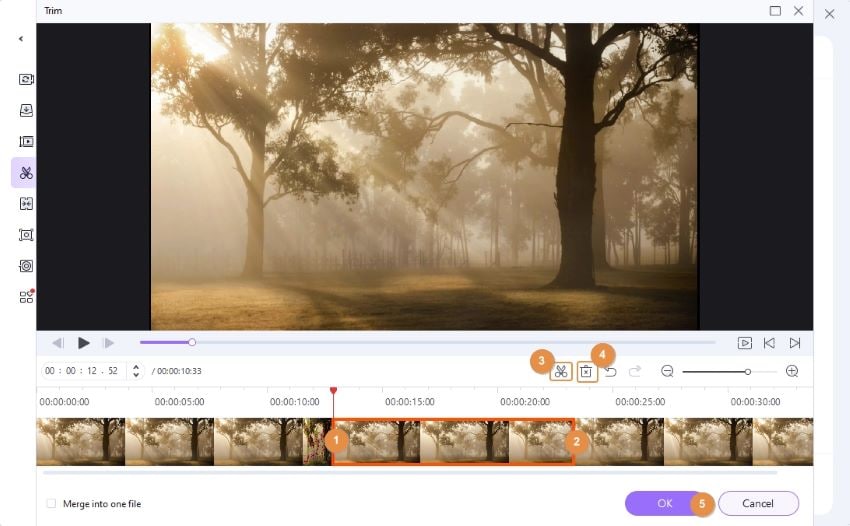
Situation 3: Cut the unwanted part of one video. If you want to delete one segment and combine the left segments into one file, choose unnecessary segment and click Delete. Then check the option Merge into one file and click Save to confirm.
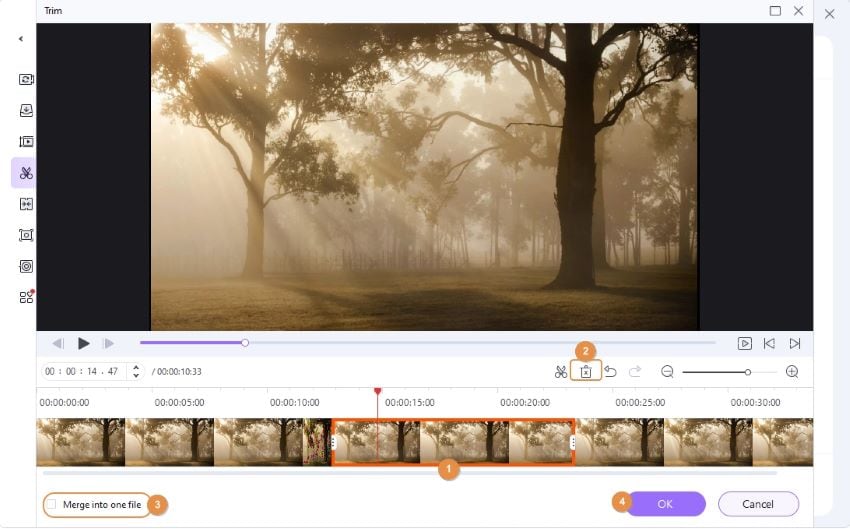
You'd get 1 video clip in the main interface, without the deleted segment.

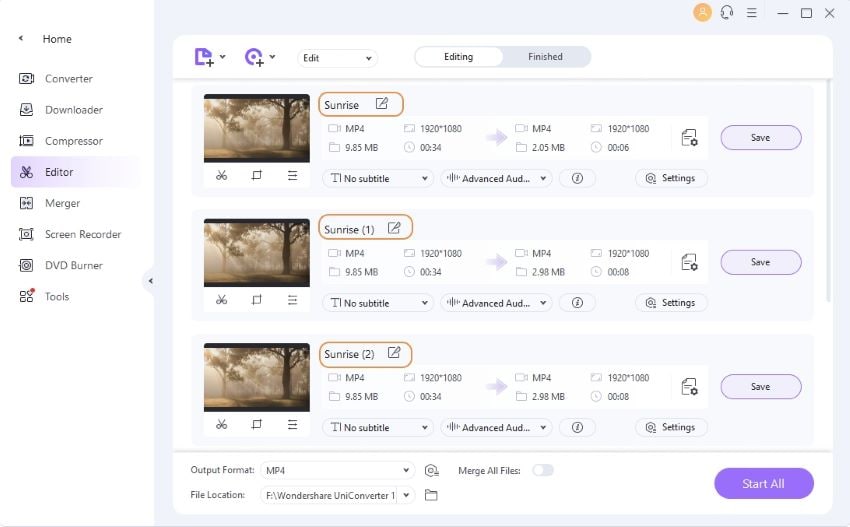
Situation 4: Trim a long video into several clips. If you want to trim one long video into several small segments, you can drag the time slider to the place you want to trim and click the Cut icon to confirm, loop the steps to cut the segments. The video will be divided into several segments (here take 5 segments for example) correspondingly as the screenshot shows. If you just want to trim the video to 5 segments, click the Save button to proceed.

You’ll see 5 video clips in the primary interface, each one named with the segment number.
Note: Click the + or – button would zoom in or zoom out the time interval, which helps you to located the trimming place more precisely.

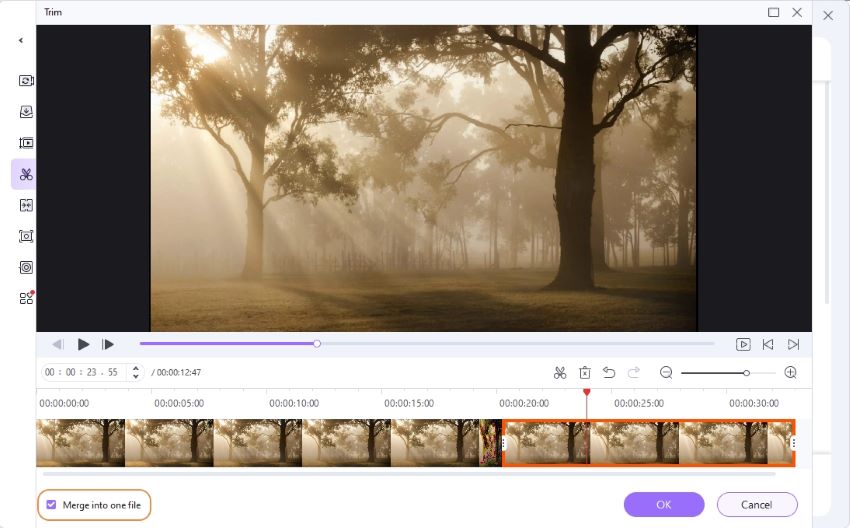
Situation 5: Rearrange the clip position. After subdividing a long video, you can rearrange the clip positions. To do that, select a clip and then drag it into a new area on the Clips pane. Drop it into an empty space or between two clips. The other videos will automatically move. To merge them, click the Merge into one file checkbox and click the OK to save your new settings.
Step 3 Save trimmed video.
Now click the drop-down button beside Output Format: to select the format for the edited video and click Start All to proceed.
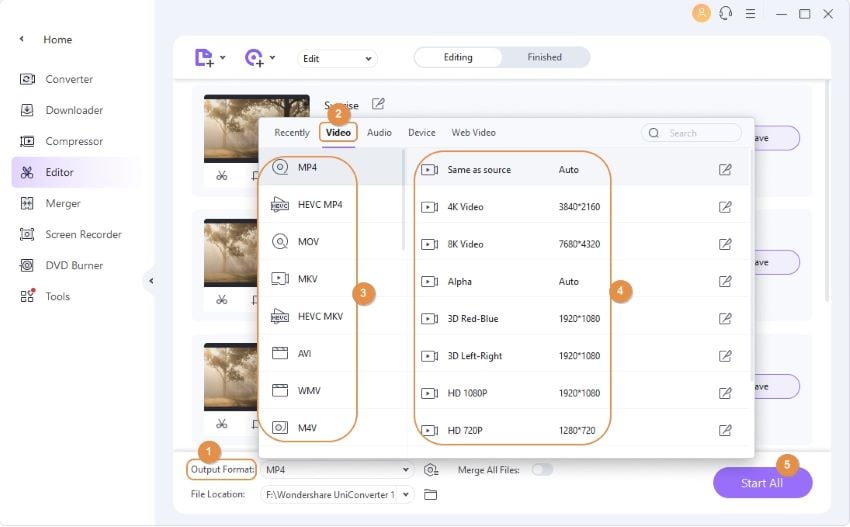
When the conversion process ends, you'll see the edited video under the Finished tab.

 print
print