UniConverter User Guide
FAQs
How to record audio on Mac
The Mac version of Wondershare UniConverter is also capable of recording audio so you can add it to your videos while giving voice-overs. Such an approach is also useful when you are in the process of becoming a voiceover artist and need to practice a lot before you can start performing on real projects. Whatever your reason may be, here is how you can use Wondershare UniConverter to record audio on Mac:
How To Record Audio On Mac-Wondershare UniConverter (Mac) User Guide
Step 1 Set the default save location.
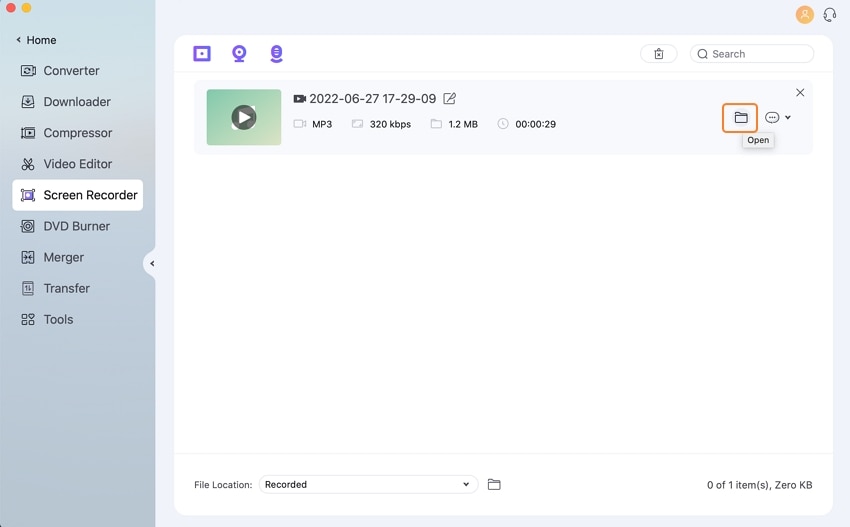
Launch Wondershare UniConverter on your Mac computer, go to the Screen Recorder category from the left pane, and use the File Location field from the bottom to set a default output folder for the recorded files.
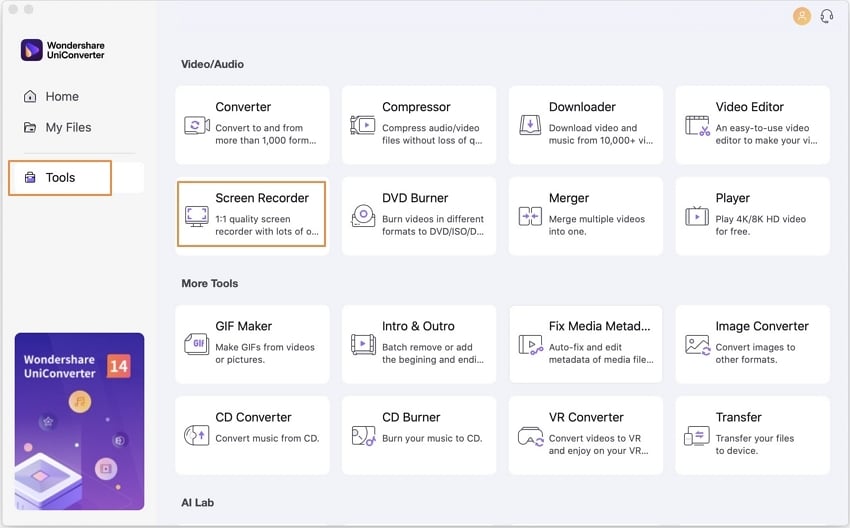
Step 2 Launch the audio recorder.
Click the ![]() icon to open the Audio Recorder window.
icon to open the Audio Recorder window.
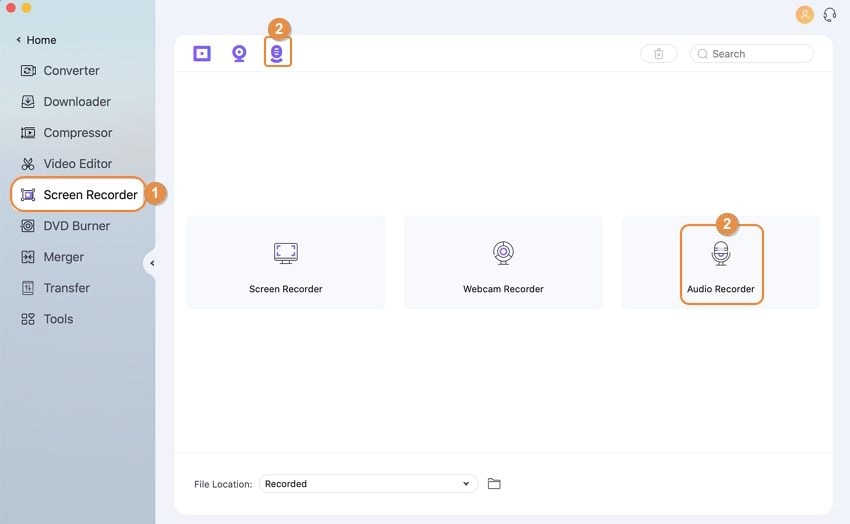
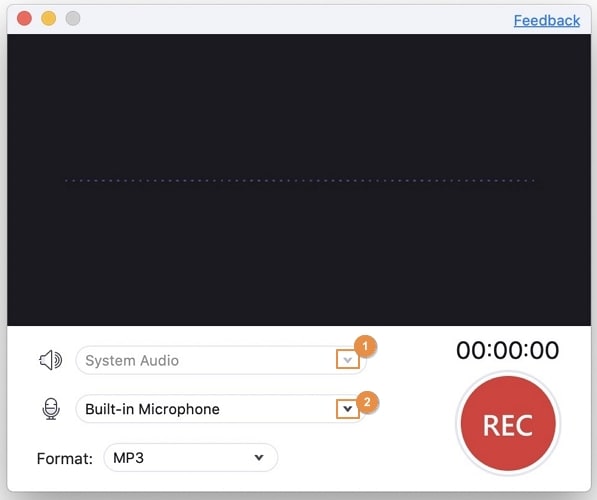
Step 3 Select the input device.
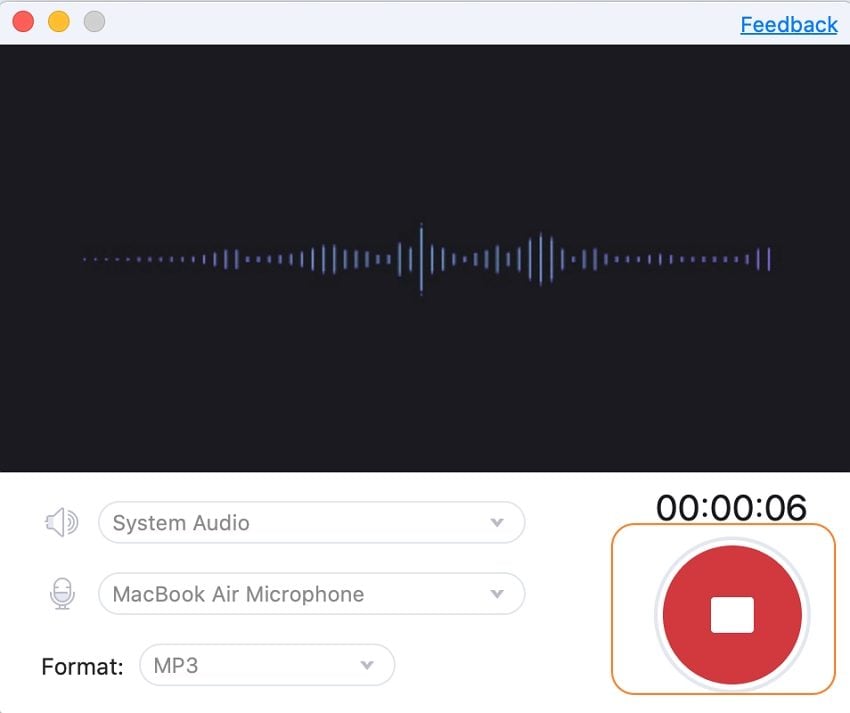
Choose your preferred voice and system recording device from the Microphone and Audio (Speaker) drop-down lists respectively.
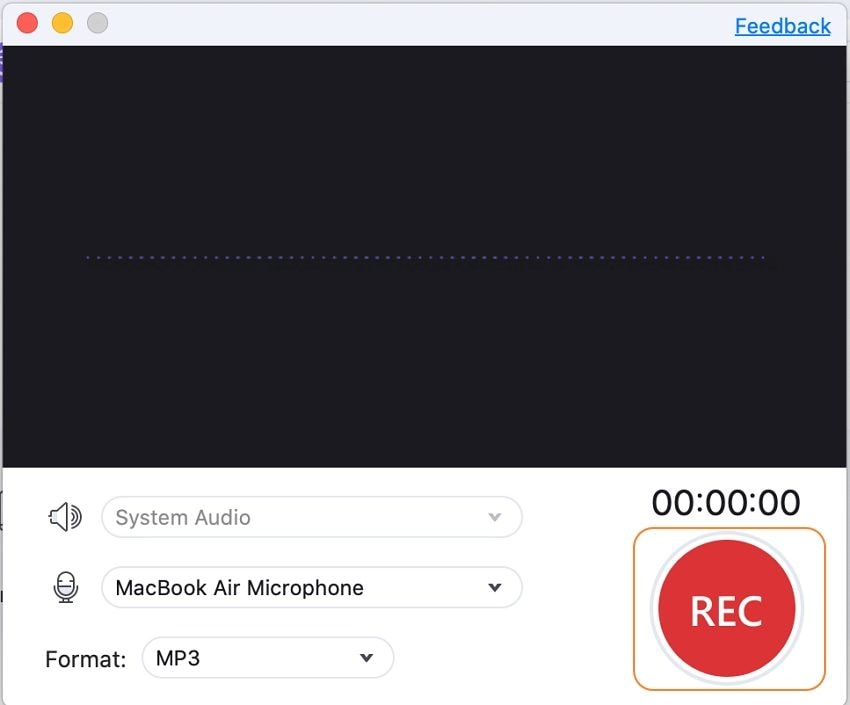
Step 4 Start and stop audio recording.
Click the REC button to begin recording the audio, and click Stop to stop when done. You can access the recorded file from the list on the Screen Recorder window, or by going to the default save folder that you selected in Step 1.

 print
print