UniConverter User Guide
FAQs
How to add and edit subtitles to your videos easily
Wondershare UniConverter is the best desktop app to work with subtitles. With this subtitle editor, you can import and edit local subtitles effortlessly. Users can also adjust the font size, color, position, and transparency. Additionally, you can position subtitles to appear at the top, middle, or bottom of the playback screen. Moreover, you can convert your subtitle video to VOB, FLV, AVI, MP4, MOV, etc. So, let's see how to add and edit subtitles to a video using this app.
Step 1 Load your video file.
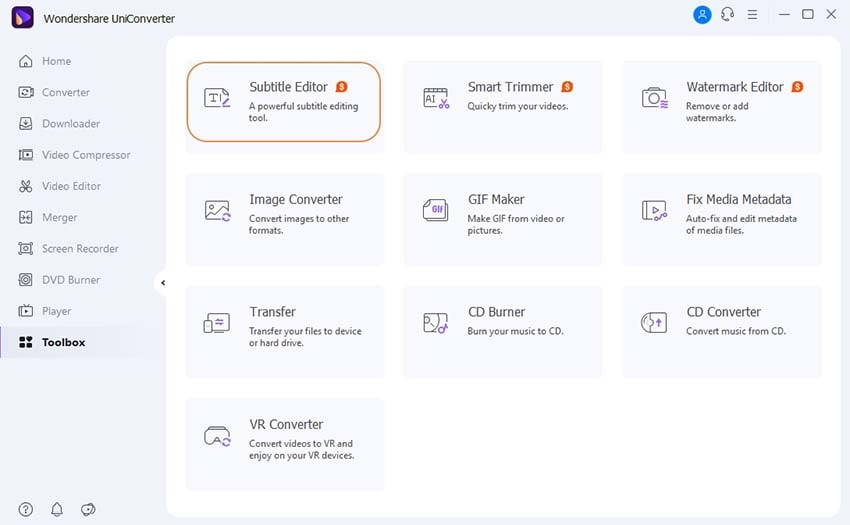
Download and load Wondershare UniConverter on your PC and then tap the Video Editor tab on the left pane. From the several editing tools available, click the Subtitle to open your local storage and add the video file. Your video should start playing automatically on the subtitle editor.

Step 2 Open the subtitle editor.
Now on the subtitle tab, click the drop-down arrow named No Subtitle, and the Subtitle menu will open where you can do the following things:
No subtitle: Remove subtitle tracks from your video.
Add: You can add subtitles to the video by clicking on this button.
Keep all subtitle track (s): When you convert the video to MOV or MP4, the subtitle tracks will remain as they are and can be turned on or off.
Embed subtitle(s): You can find all your subtitles contains in your video. Choose one to output, and it will be printed on the video (can't be switched on/off when playing).
Export subtitle (s): Extract the subtitle tracks from the video and save them as .ssa, .srt, or .ass files.

Step 3 Add and edit subtitle on your video.
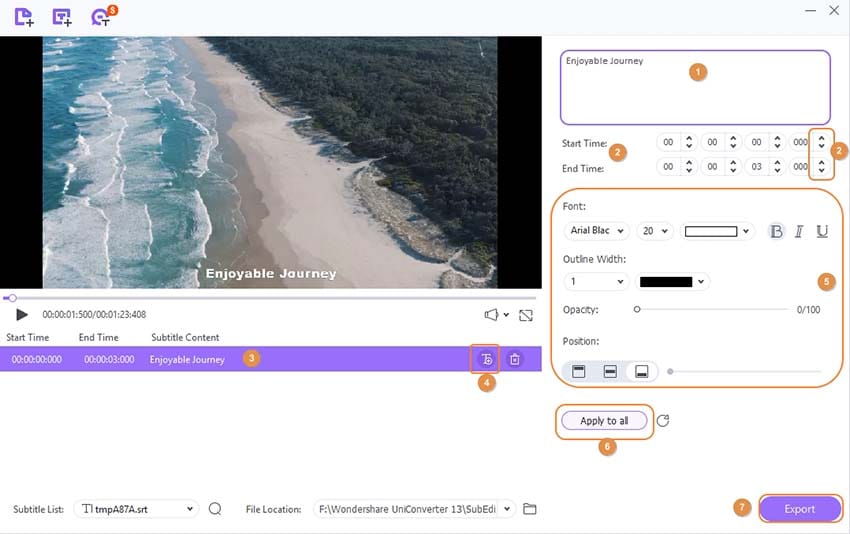
Tap Add to import a locally saved subtitle to your video.
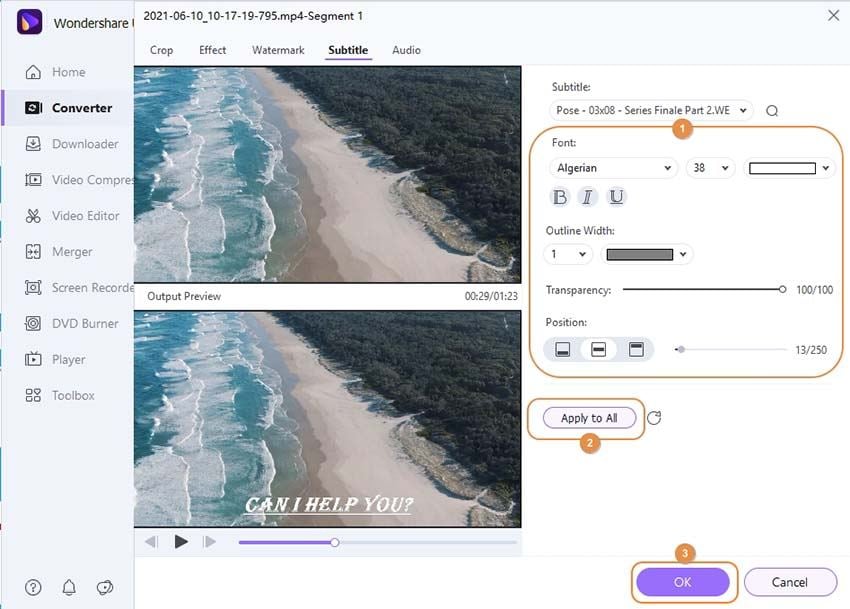
You can set subtitle fonts like Arial, Arial Black, Calibri, Lato, Pristina, and more. You can also Underline, Bolden, and Italicize subtitle tracks. Further, this app allows you to adjust the subtitle text color, background color, outline width, transparency, and position. And above all, click the Apply All to effect the changes on all the subtitle tracks. To undo the settings, press the Reset icon.

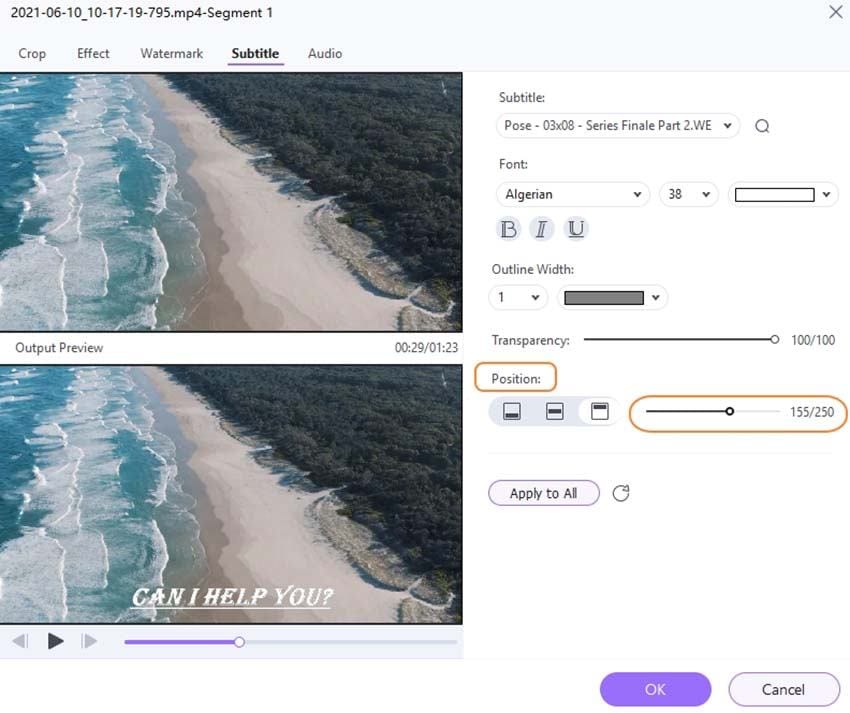
Tips: You can custom the position of subtitles by moving the slide bar under the Position tab.

Step 4 Preview the video file (Optional).
Before converting and saving your video, it's wise to ensure that everything is clean and polished. To do that, hover the mouse cursor on top of the thumbnail, and you'll see the Play icon. Click it to open the subtitled video using the multimedia player. Close the window if you're satisfied.

Step 5 Export to MP4 or MOV files.
Navigate downwards to the Output Format menu and open it. Click the Video and then choose MP4 or MOV as the target format. Also, set the output resolution before clicking the File location menu to select a folder path or destination. Finally, hit the Start All and wait for the program to convert and save your new video with edited subtitle tracks. Enjoy!

Note: With Wondershare UniConverter, you can convert videos with subtitles in simple steps. Move to How to Add and Edit Subtitles on Videos with More Advanced Features>> to learn more.

 print
print