Video Converter Ultimate Guide for Windows
- Convert
- Edit
- Download
- Burn
- Compress
- Play
- Stream
Get instant answers to common questions.
All solutions about video&audio convert, burn,download,edit and so on.
One of the major editing features offered by Wondershare Video Converter Ultimate is adjusting contrast. You can adjust the contrast of your video file quickly and easily. The changes are reflected quickly which makes it easier for the user to make the adjustments. Please follow the steps below to adjust the contrast of your video file:
The very first step is to launch Wondershare Video Converter Ultimate. The main interface appears once you launch it.
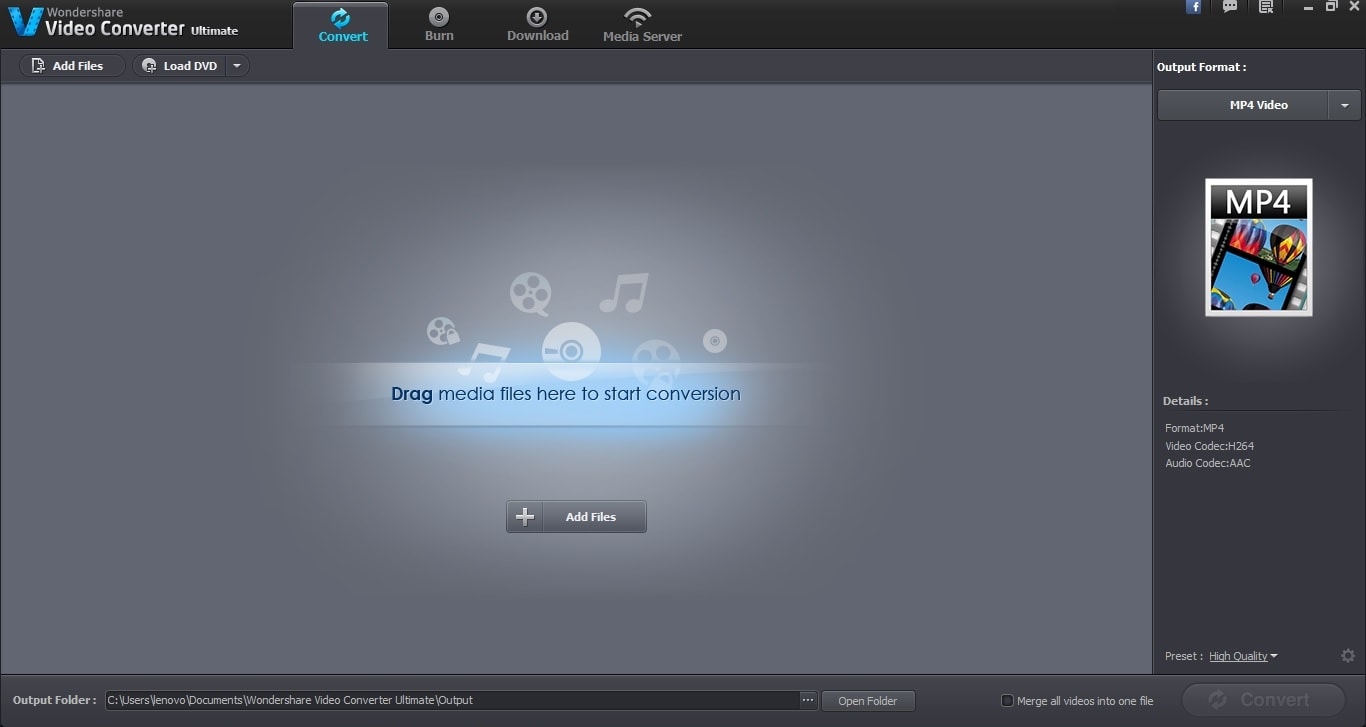
By default, the “Convert” tab is selected. The next step is to load the video file that should be edited. You can load the video file in Wondershare Video Converter Ultimate by either dragging the file in the interface or by using the “Add Files” button. Once you click on the “Add Files” button, it opens the file explorer from where you can choose the desired file.

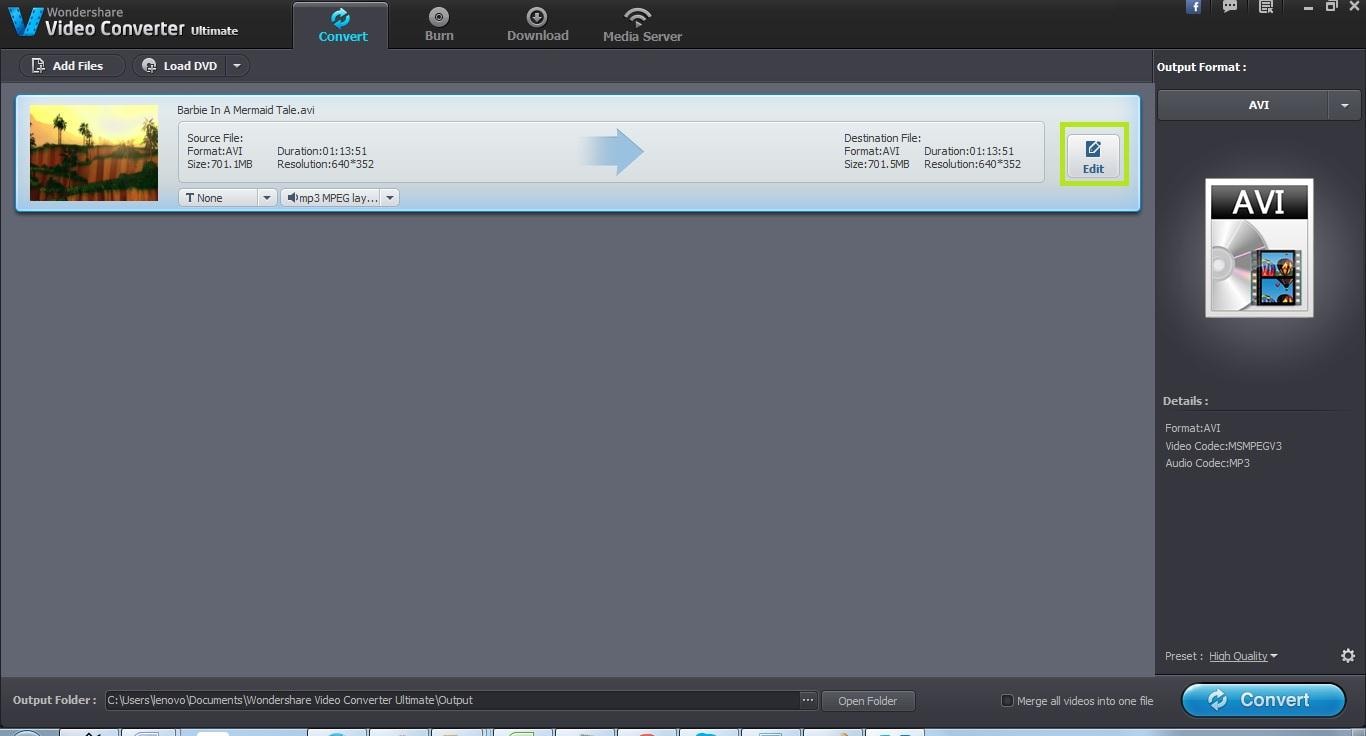
To edit this loaded video file in Wondershare Video Converter Ultimate, click on the “Edit” button. Once you click on the edit button, a new pop up window shows up where you can see a number of editing options.
From the new pop up window that has appeared on clicking the “Edit” button, choose the “Effect” tab to adjust the contrast of the video file.

Once you have chosen the “Effect” tab, you will be able to see an array of options like brightness, saturation and contrast. Drag the “Contrast” scroll bar to increase/decrease the contrast of the video file. The changes you make are reflected in the video file open. Drag the scroll bar right and left until you are satisfied with the contrast. Click on the “Ok” button once done to save the changes.

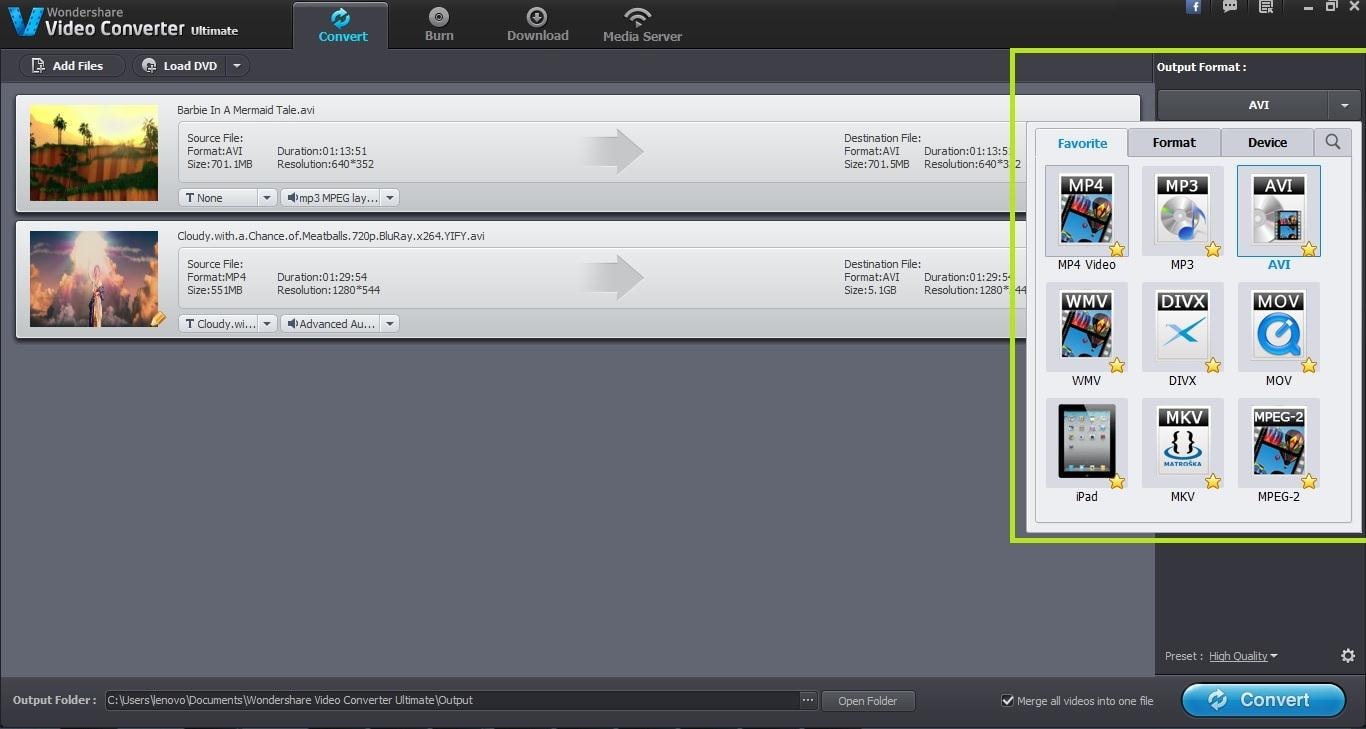
Once you are done, the next step is to choose the output format for this file. You can choose the output format for a file through the “Output Format” tab in the right pane. You can specify any output format supported by Wondershare Video Converter Ultimate.
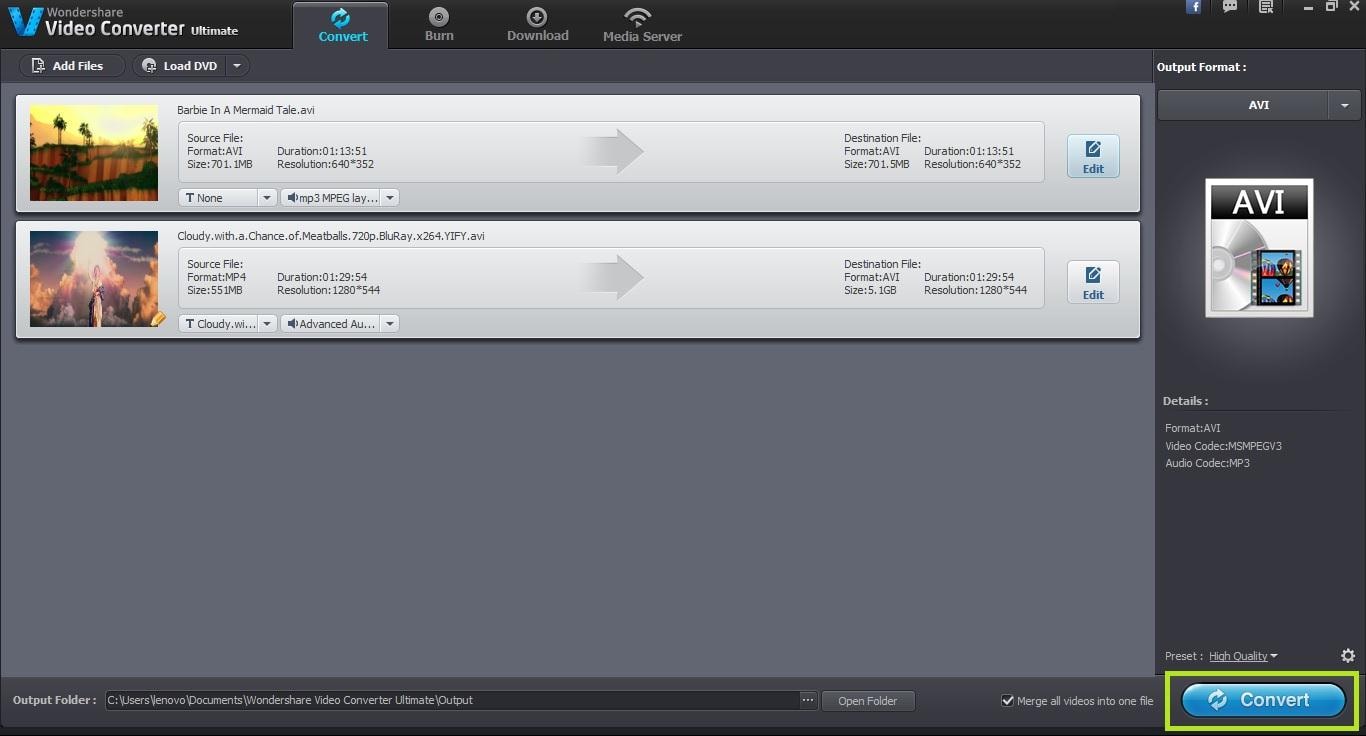
Once you have specified the output format, the next step is to specify the output folder as well. By default, the Wondershare Video Converter Ultimate is the output folder chosen but you can change it anytime to your desired folder location.
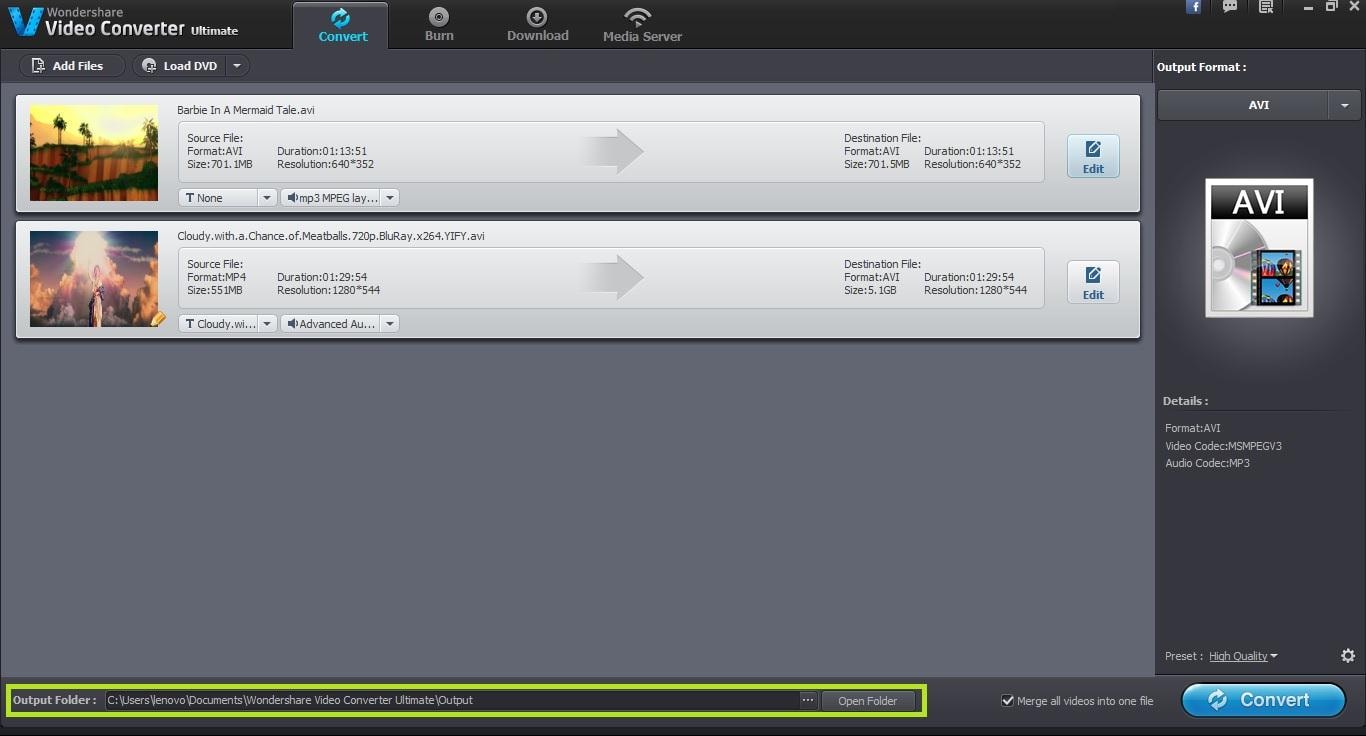
The final step is to start the actual video conversion. You can start converting the loaded video file by clicking on the “Convert” button located at the bottom right corner of the screen. A notification is generated once the conversion is complete.

One-Stop Solution to Convert, Download, Edit and Burn any Video/Audio Files with Ease.