Video Converter Ultimate Guide for Windows
- Convert
- Edit
- Download
- Burn
- Compress
- Play
- Stream
Get instant answers to common questions.
All solutions about video&audio convert, burn,download,edit and so on.
Applying a watermark to the video might sound necessary at times. Wondershare Video Converter Ultimate allows its customers to apply watermarks to the videos quickly. Please follow the steps below to apply watermark to any video:
The first step is to launch the Wondershare Video Converter Ultimate software. You can launch this software by double clicking on its icon.
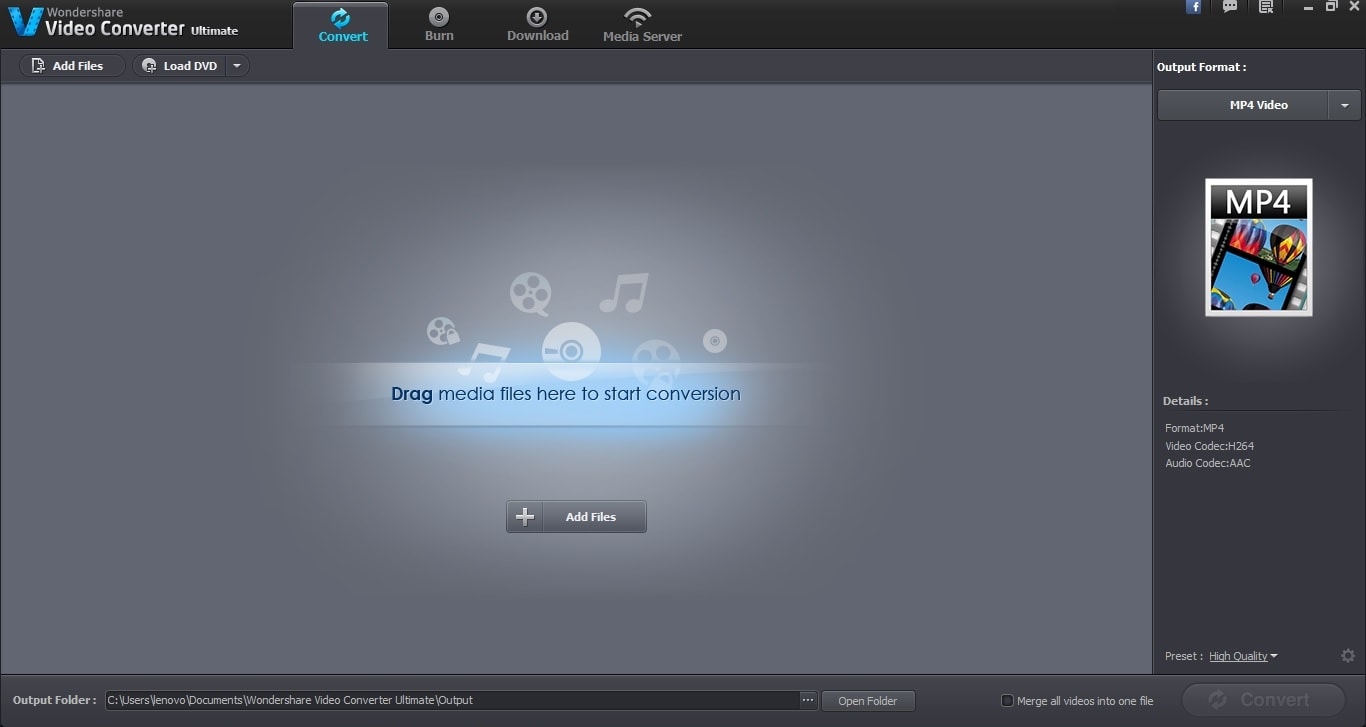
Once you have launched the software, the next step is to load the desired video file into the interface. You can load the video file in Wondershare Video Converter Ultimate by either dragging the file in the interface or by clicking on the “Add Files” button. When you click on the “Add Files” button, it will open a file explorer from where you can easily choose the video file to be loaded in the interface.

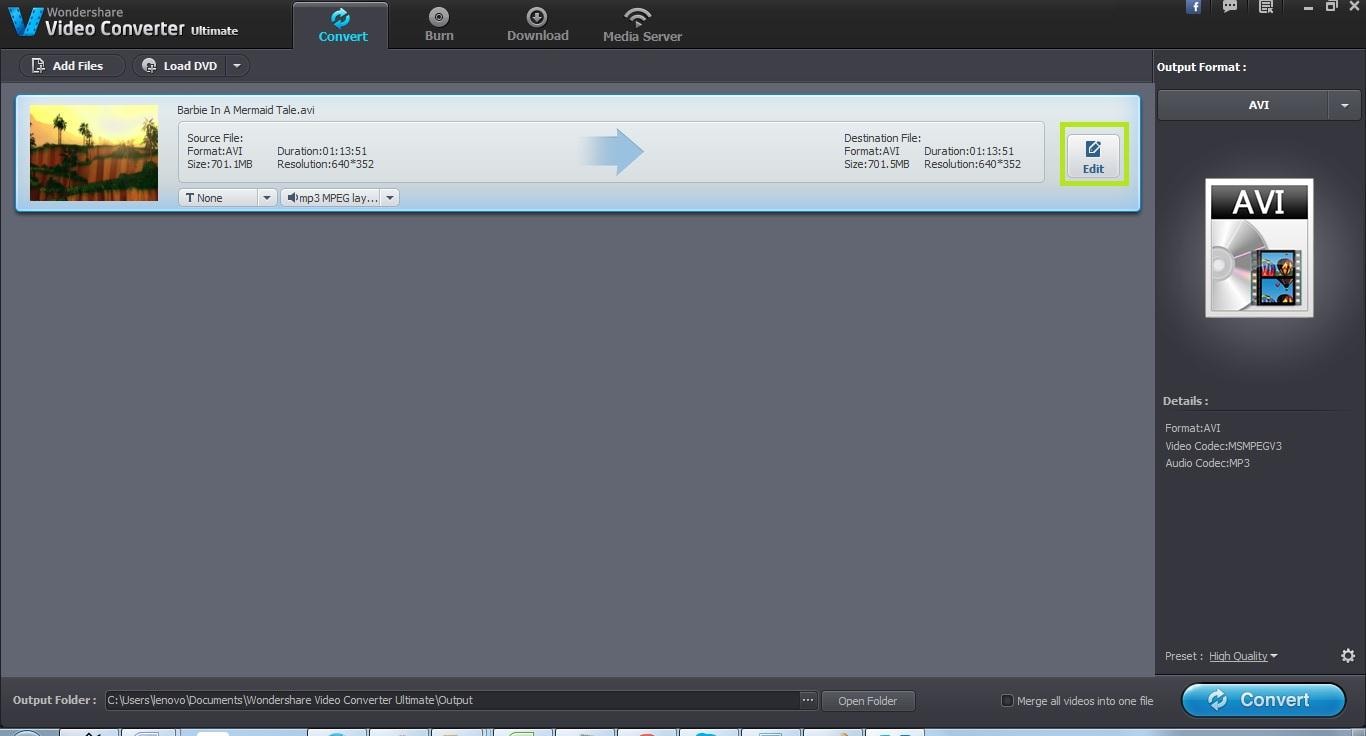
Choose the “Edit” button option from the interface to start editing the loaded video quickly. Once you click on the edit button, it opens a new editing window which contains a number of features available.
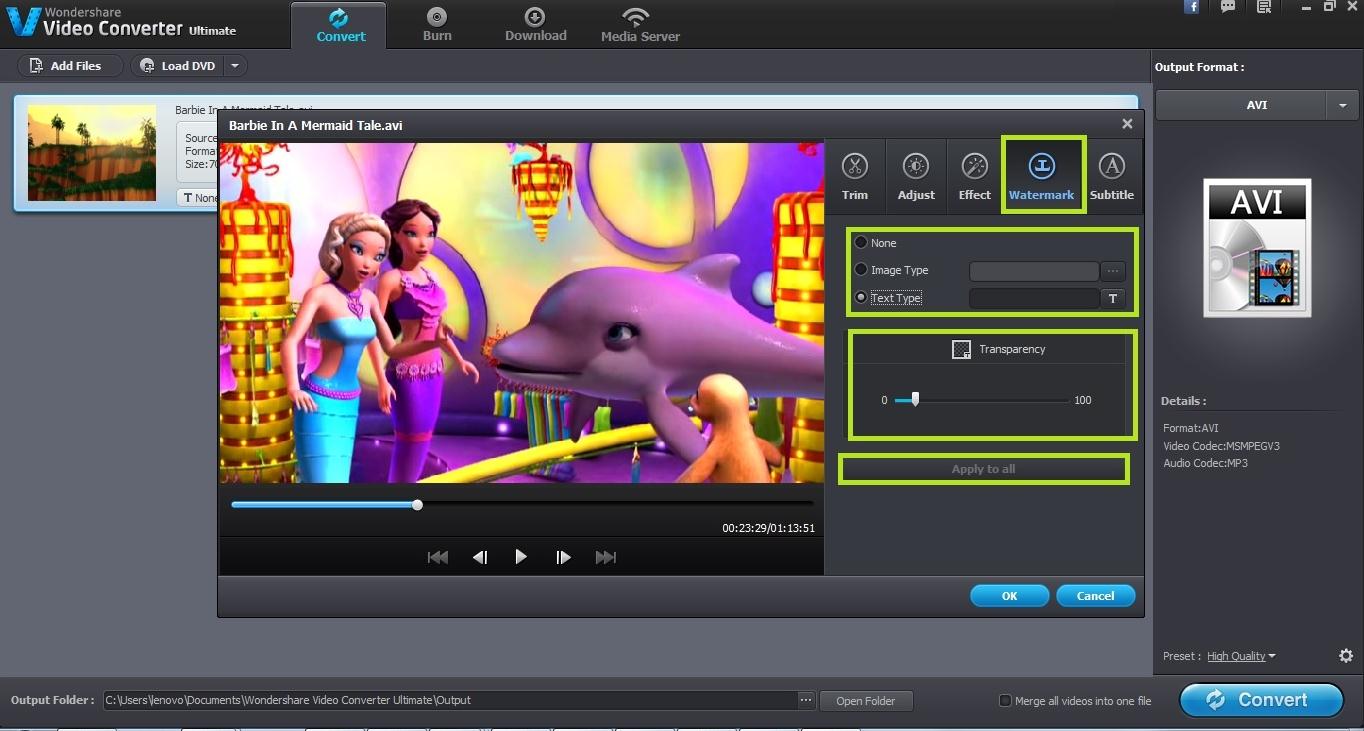
In the editing window, choose the “Watermark” tab to open it. You will find a number of options under this tab. The watermark added to any video can be either in textual format or imagery format. You can choose the options according to your requirement. Choose “Image Type” for adding an imagery watermark and choose “Text Type” to add a textual watermark. You can also set the transparency of the watermark. Click on “Apply to all” button to apply the watermark to the complete video.
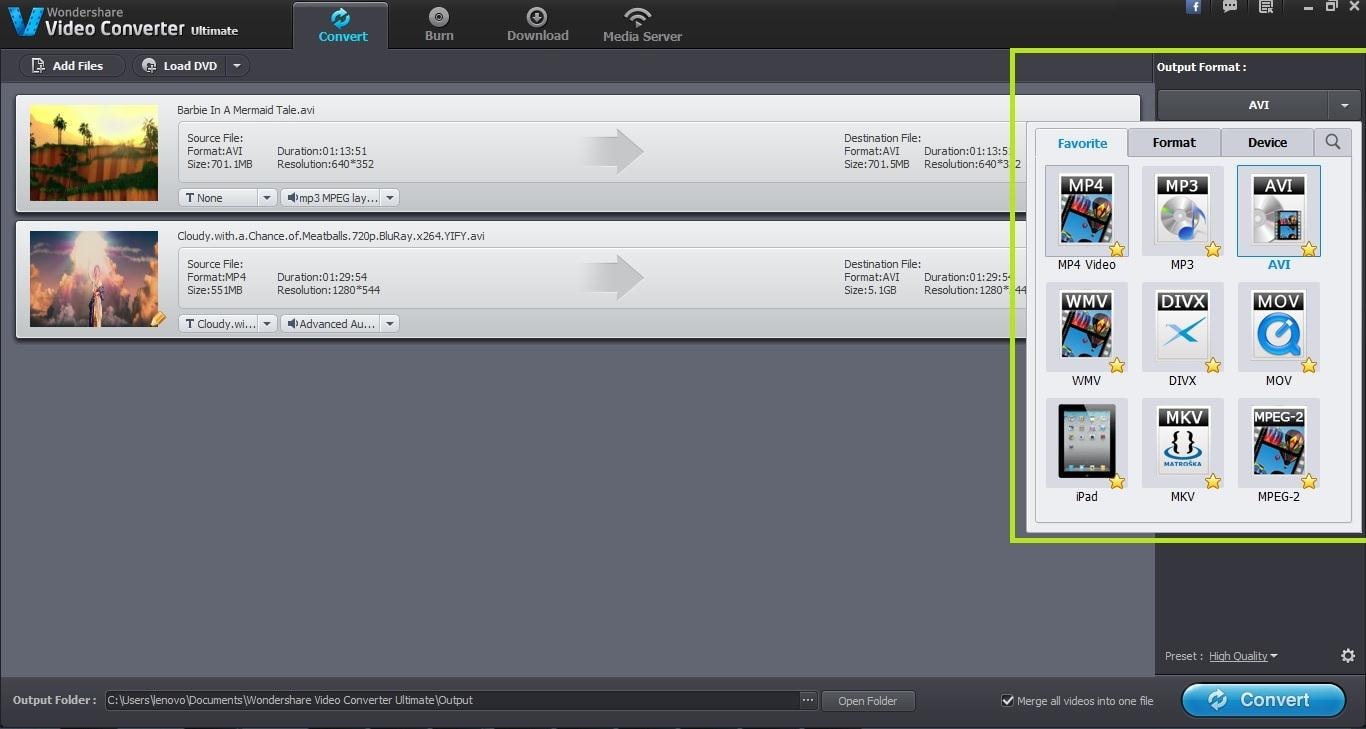
Once you have applied the watermark, click on the “Ok” button to save the changes. The next step is to change the output format of the resultant video file. The file formats are easily classified and you can choose the one that suits your requirements. By default, the output format is same as the original video format.
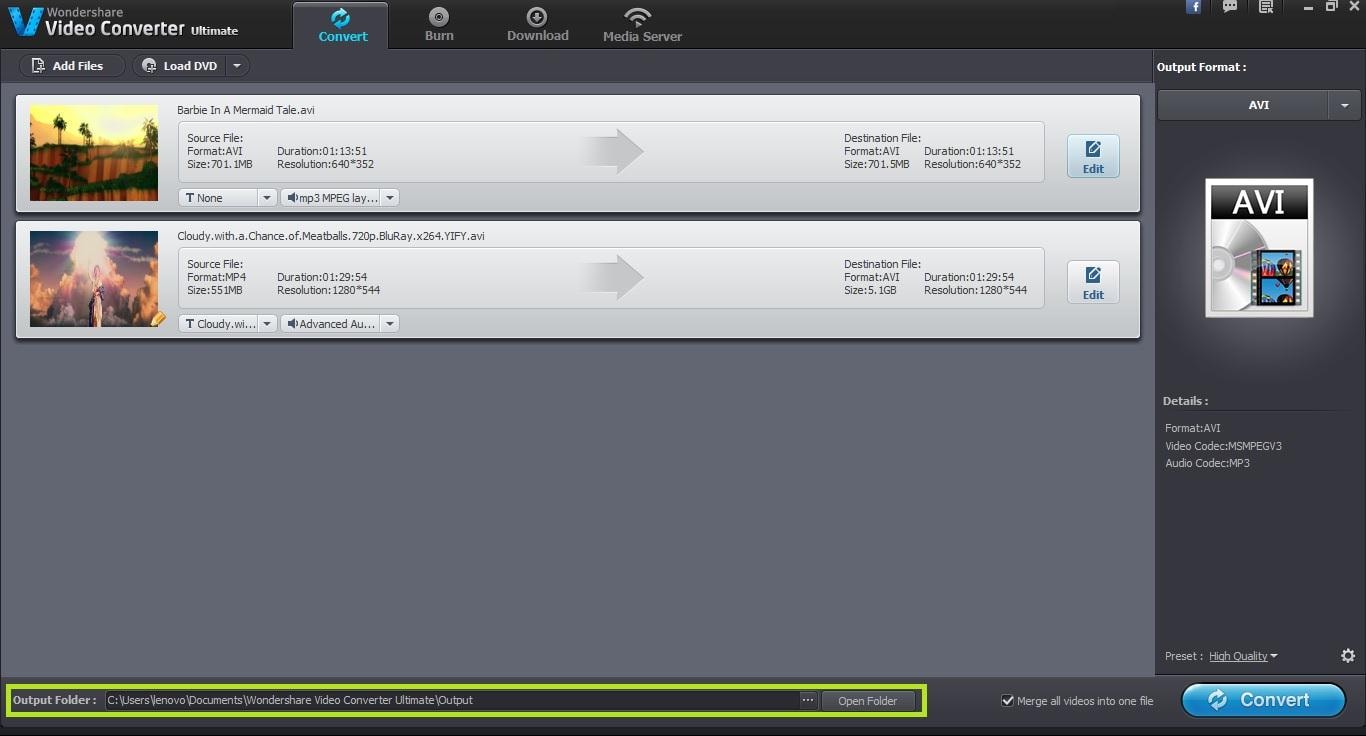
If you want to save the resultant file in some specific file location, then please specify it in the “Output Folder” section at the bottom. You can change the location where your resultant file will be stored.
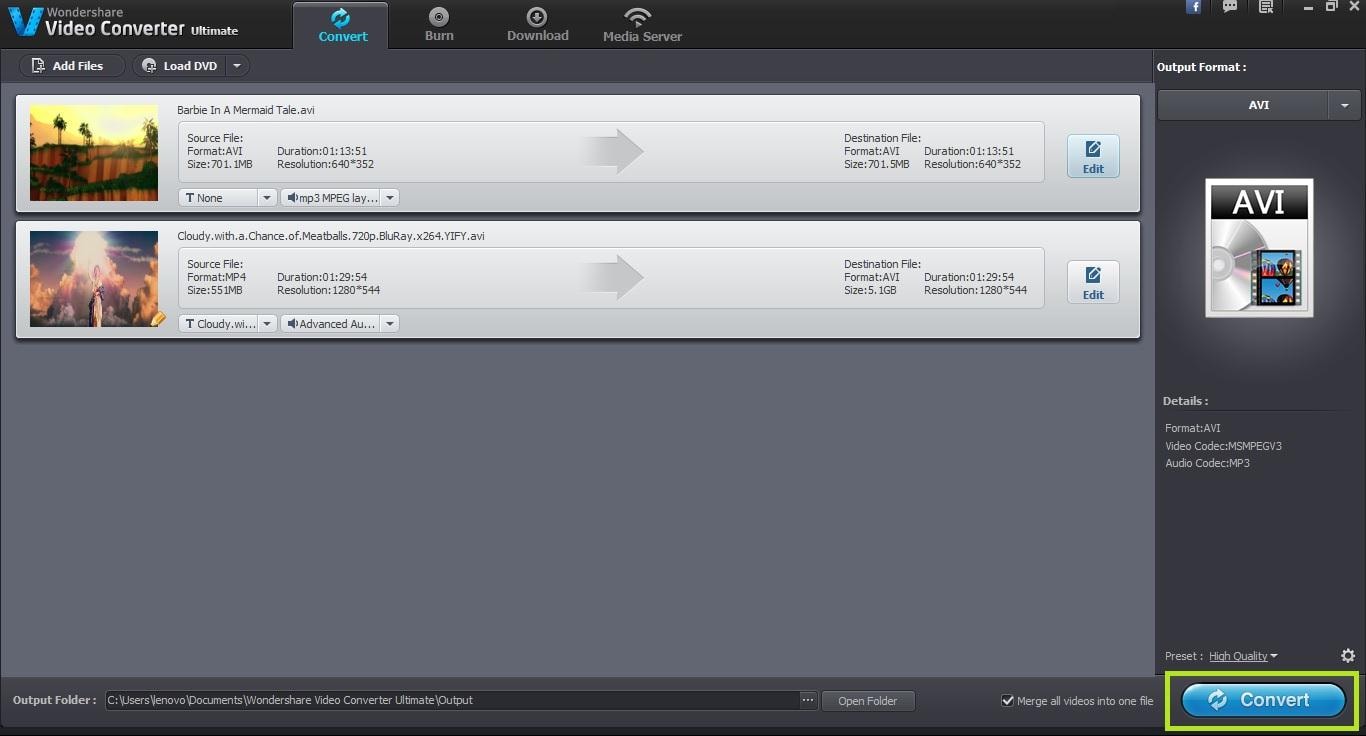
Once you have made all the settings, the final step is to actually start the conversion process by clicking on the “Convert” button.

One-Stop Solution to Convert, Download, Edit and Burn any Video/Audio Files with Ease.